
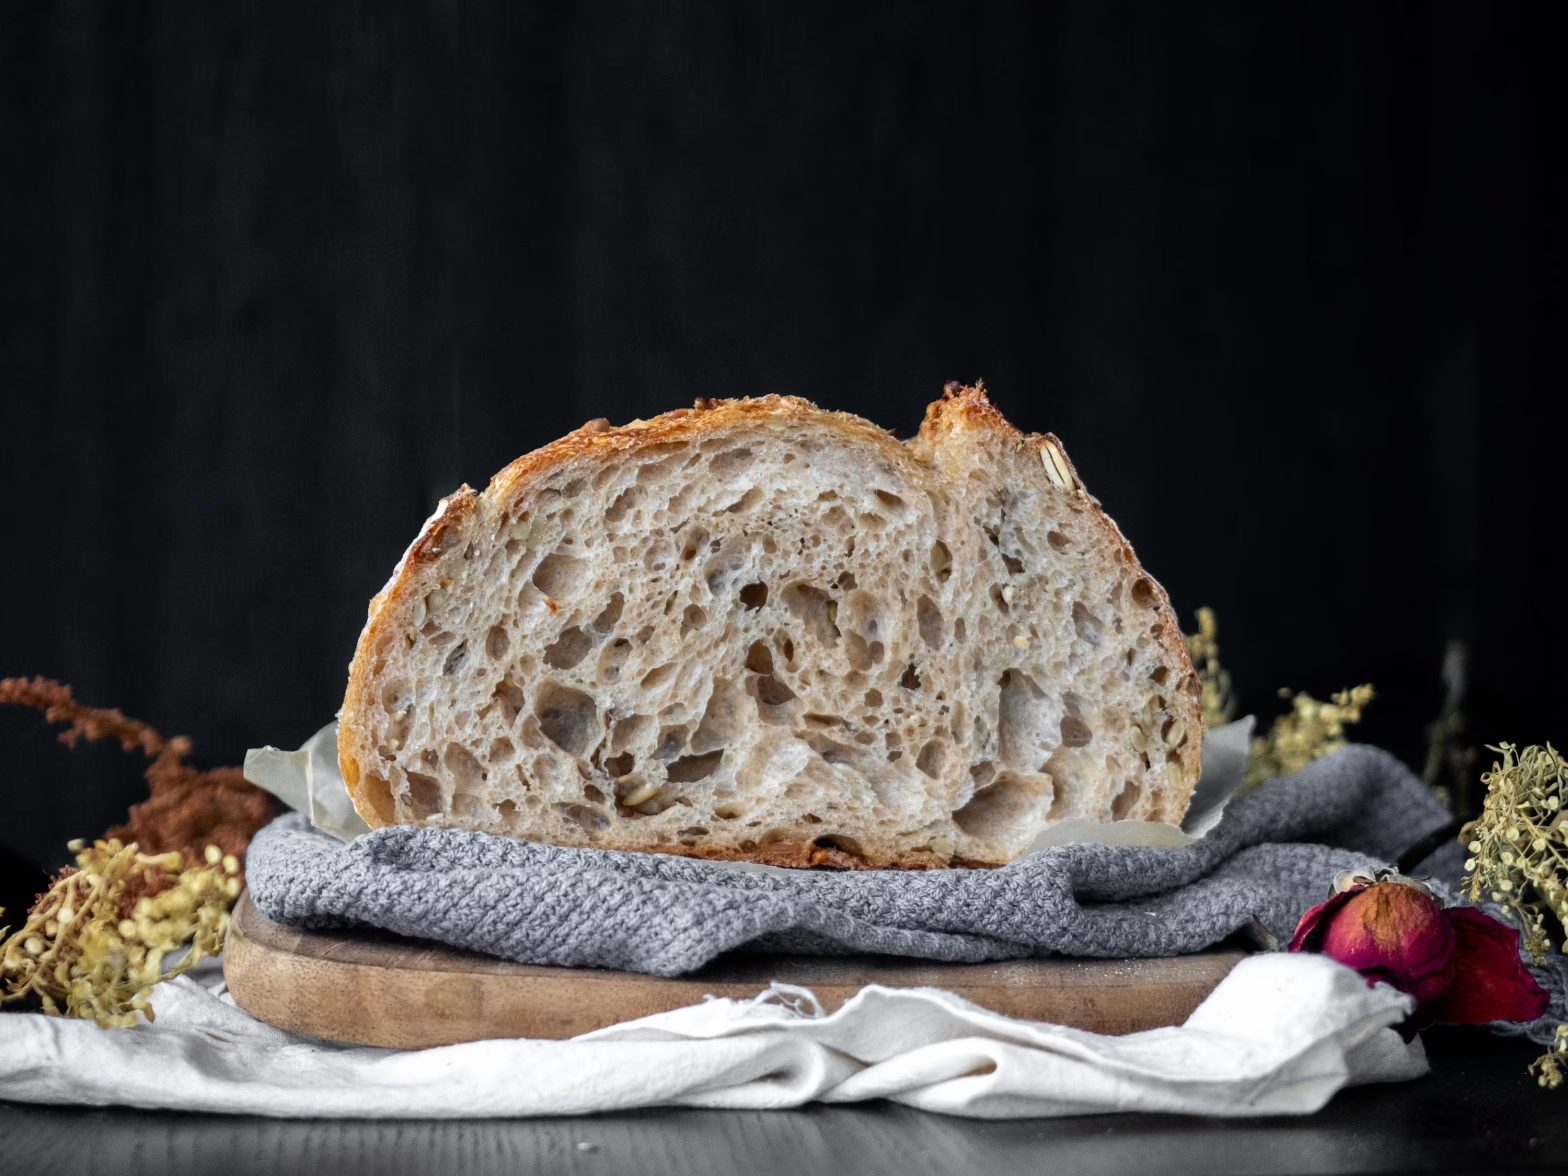
If you’ve ever dreamed of baking crusty, aromatic artisan bread at home, learning how to make a sourdough starter is your essential first step. In 2026, sourdough baking has exploded into a full-blown revival — Yelp’s 2026 Trend Forecast shows rising searches for sourdough bread, sourdough cinnamon rolls, sourdough pizza, and even sourdough baking classes. At TeamFoodie, we believe everyone should experience the magic of baking with wild yeast, and this sourdough starter guide will take you from complete beginner to confident baker in just one week.
A sourdough starter is simply a fermented mixture of flour and water that captures wild yeast and bacteria from your environment. Unlike commercial yeast packets, this living culture leavens your bread naturally while adding complex, tangy flavor. The best part? You only need two ingredients, a jar, and a little patience. Let’s build your sourdough bread starter from scratch!
What Is a Sourdough Starter? The Science Made Simple
A sourdough starter is a fermented mix of flour and water containing wild yeast and bacteria. Wild yeasts and bacteria exist everywhere — in flour, in the air, and on your hands. When mixed with flour and water, they convert starch to sugar, producing carbon dioxide (which makes bread rise) and acids (which create sour flavor). This symbiotic relationship between yeast and bacteria is what makes sourdough unique.
Unlike store-bought yeast, which is a single strain bred for speed, wild yeast works slowly, developing deeper flavors over time. The lactic and acetic acids produced during fermentation also make sourdough more digestible and give it that signature tang. Plus, sourdough aligns perfectly with the fermented foods trend dominating 2026, offering natural probiotics and gut-health benefits.
New to fermentation? Explore our complete fermented foods guide to learn about kimchi, kombucha, and other probiotic powerhouses. And don’t miss our food trends 2026 guide where sourdough ranked as one of the year’s biggest comfort food revivals!
Equipment You’ll Need
Before starting your sourdough starter from scratch, gather these simple tools:
- Digital kitchen scale — Measuring by weight (grams) is far more accurate than cups. This is non-negotiable for consistent results.
- Glass jar or container — A 1-quart wide-mouth mason jar or straight-sided deli container works perfectly. Avoid metal, which can react with acids.
- Rubber band or marker — To mark the starter’s height and track rising.
- Wooden spoon or chopstick — For stirring (metal can sometimes interfere, though stainless steel is fine).
- Breathable cover — A clean kitchen towel, coffee filter, or loose lid. The starter needs airflow.
- Unbleached all-purpose or bread flour — Organic is ideal. Whole wheat or rye flour can help jumpstart fermentation.
- Lukewarm water — Around 75-80°F (24-27°C). If your tap water is heavily chlorinated, let it sit out overnight.
Use a plastic or glass container large enough to contain this volume of liquid and flour — you’ll need about 1 quart capacity. A straight-sided vessel is best because it allows you to truly see how much your starter is growing.
The 7-Day Sourdough Starter Recipe
Building a sourdough bread starter generally takes about seven to eight days to complete. It could take longer depending on available yeast and bacteria present in your flour and environment. Ambient temperature is a major factor — a cooler kitchen means a slower starter. Be patient and trust the process.
Day 1: The First Mix
In your clean glass jar, combine 50 grams unbleached all-purpose flour with 50 grams lukewarm water (about 75°F). Stir vigorously until smooth and no dry bits remain — the consistency should resemble thick pancake batter. Scrape down the sides of the jar, cover loosely with a cloth or lid, and let sit at room temperature for 24 hours.
Day 2: Wait and Watch
Uncover your jar and give the mixture a stir. You may see a few tiny bubbles or detect a faintly fruity smell — both are good signs! Even if nothing seems to be happening, don’t worry. Re-cover and let it sit at room temperature for another 24 hours.
Day 3: First Feeding
By now you should see some bubbles and notice a slightly sour or tangy aroma. It’s time for the first feeding:
- Discard about half of the mixture (roughly 50g).
- Add 50g flour and 50g water to the jar.
- Stir until smooth, scrape down the sides, cover, and rest for 24 hours.
Day 4: Building Strength
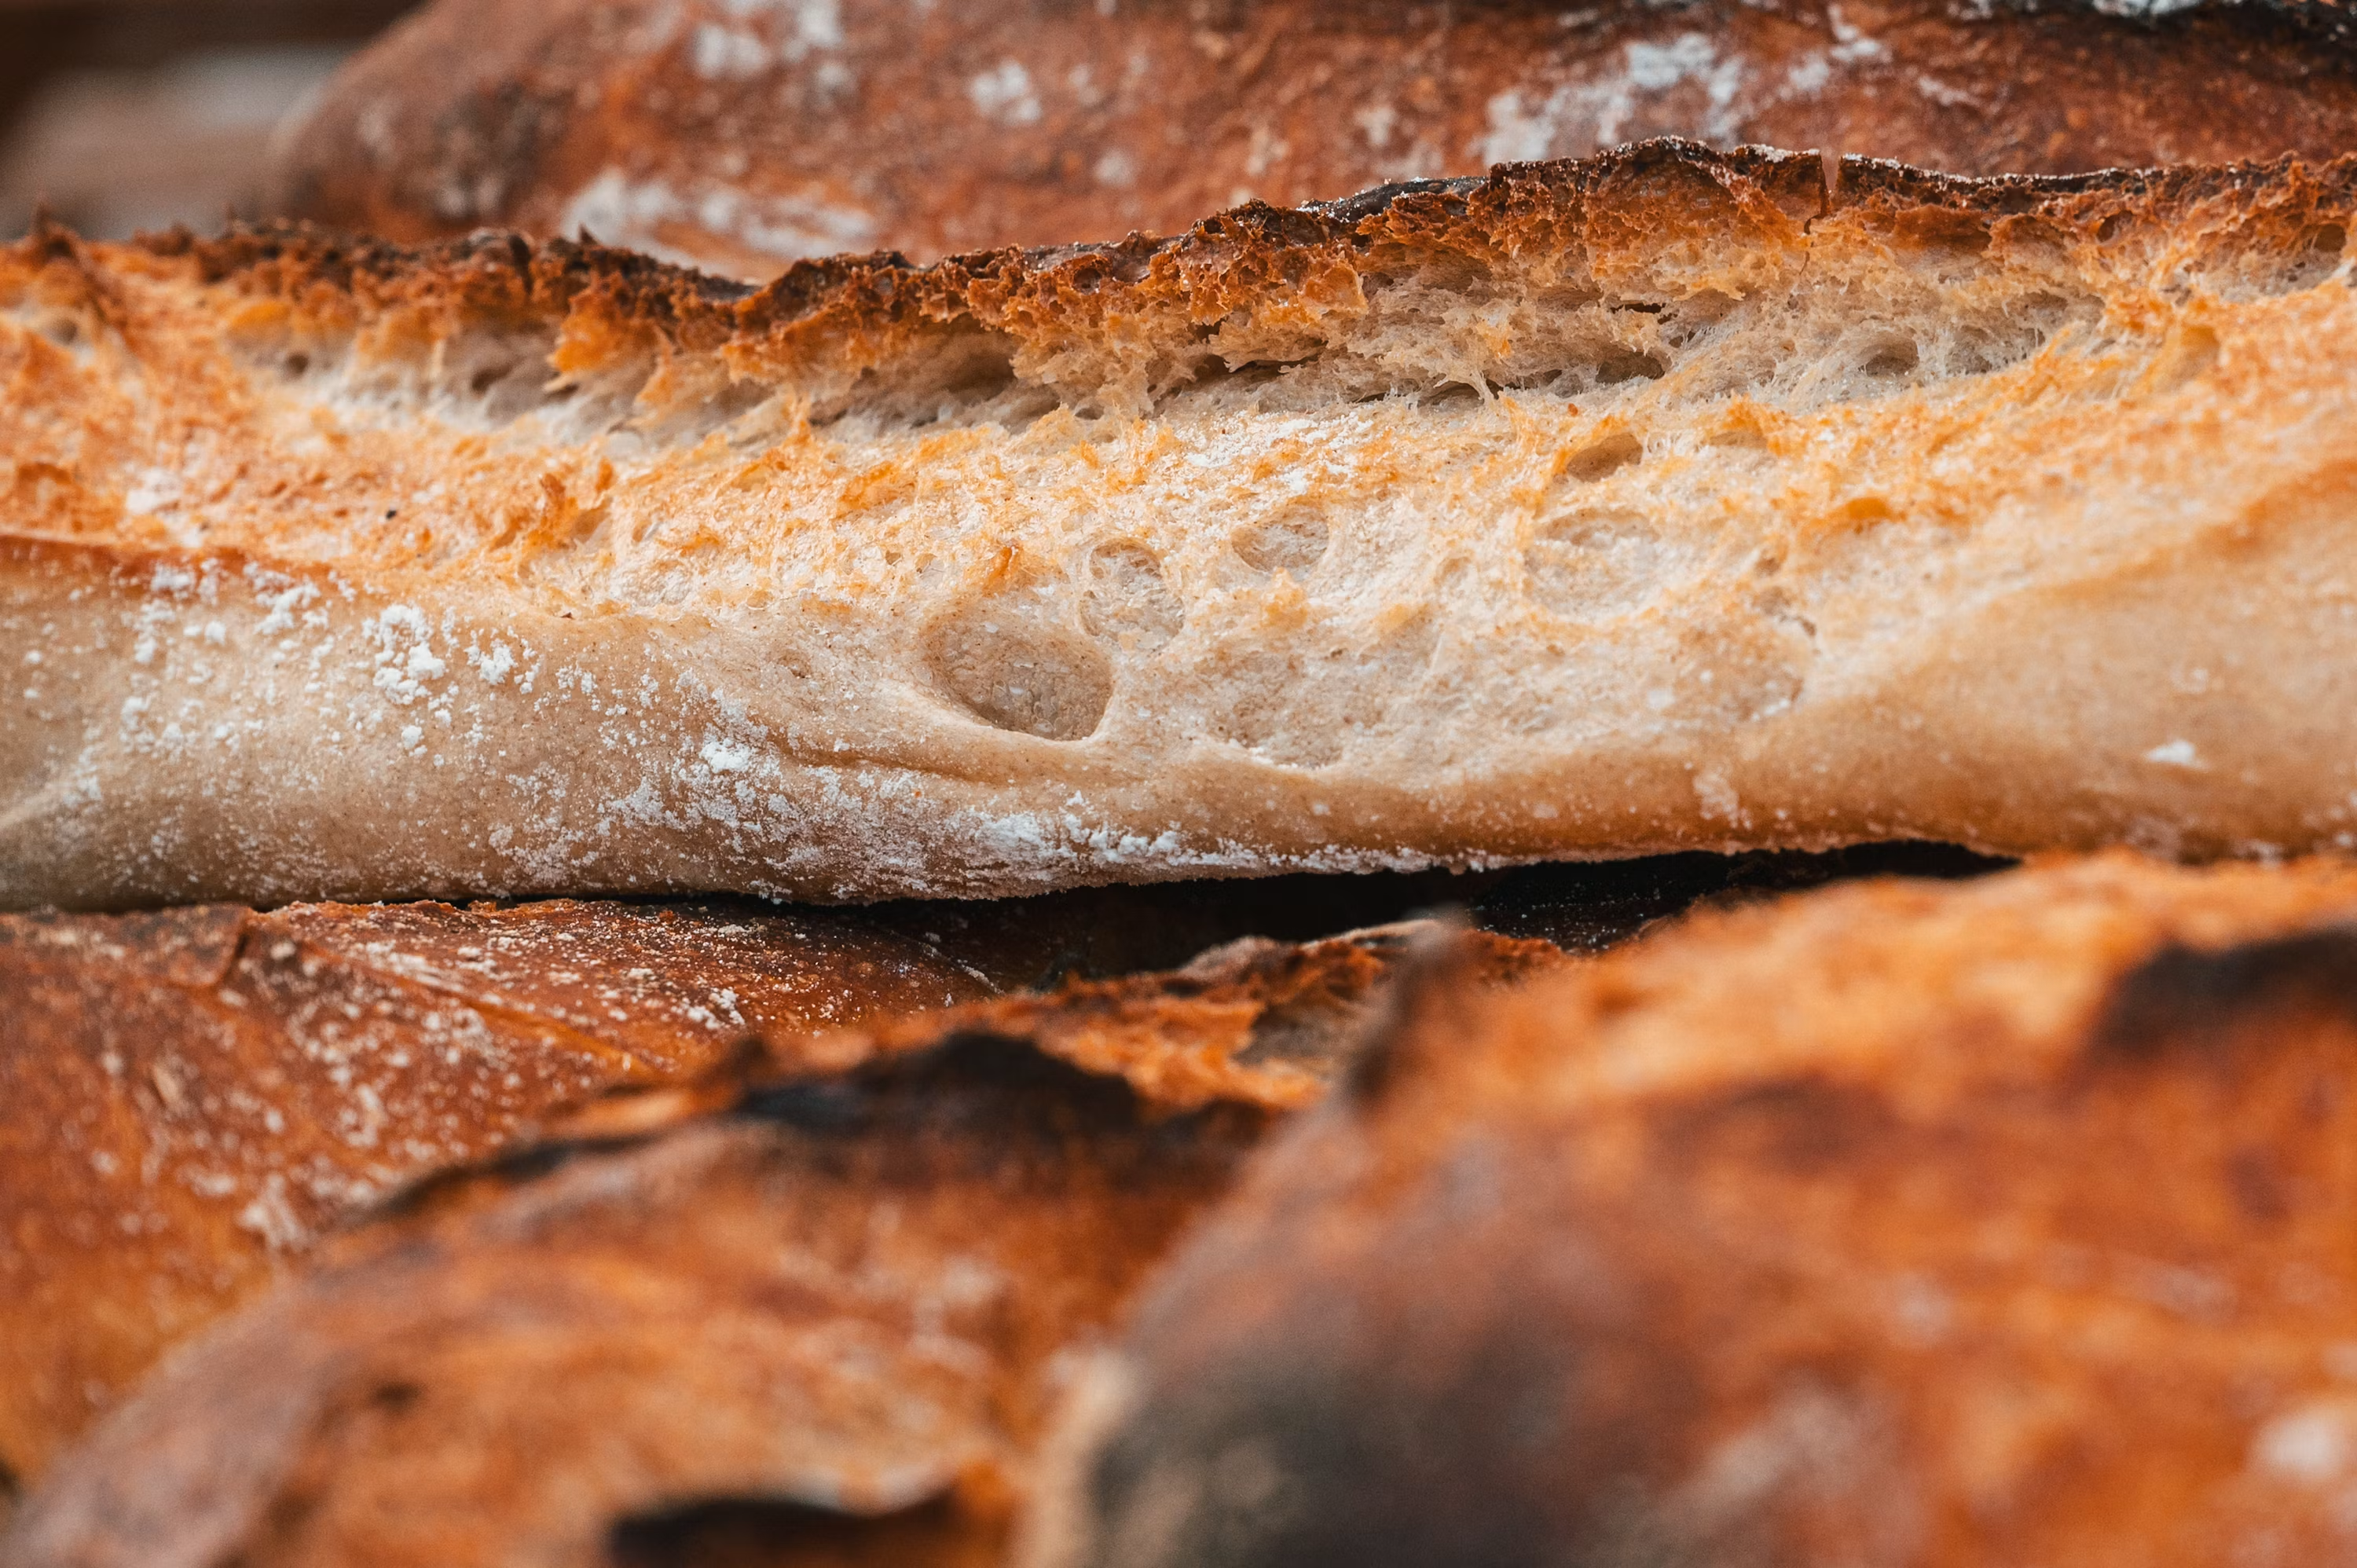
Repeat the same feeding process: discard half, then add 50g flour and 50g water. By now you should see more bubbles, and the mixture may start rising slightly. The aroma should be pleasantly tangy — like yogurt or apple cider — not foul or rotten.
Day 5: Double Feedings Begin
Your starter is waking up! Switch to twice-daily feedings (morning and evening, about 12 hours apart):
- Discard all but 50g of starter.
- Feed with 50g flour + 50g water.
- Stir, cover, and let rest 12 hours. Repeat in the evening.
Day 6: The Rise and Fall
Continue twice-daily feedings. Your starter should now rise and fall predictably, doubling in volume within 4-8 hours of feeding before collapsing back down. This rhythm means your wild yeast colony is strong and active. The texture should be light, fluffy, and elastic — not pasty or runny.
Day 7: Is It Ready?
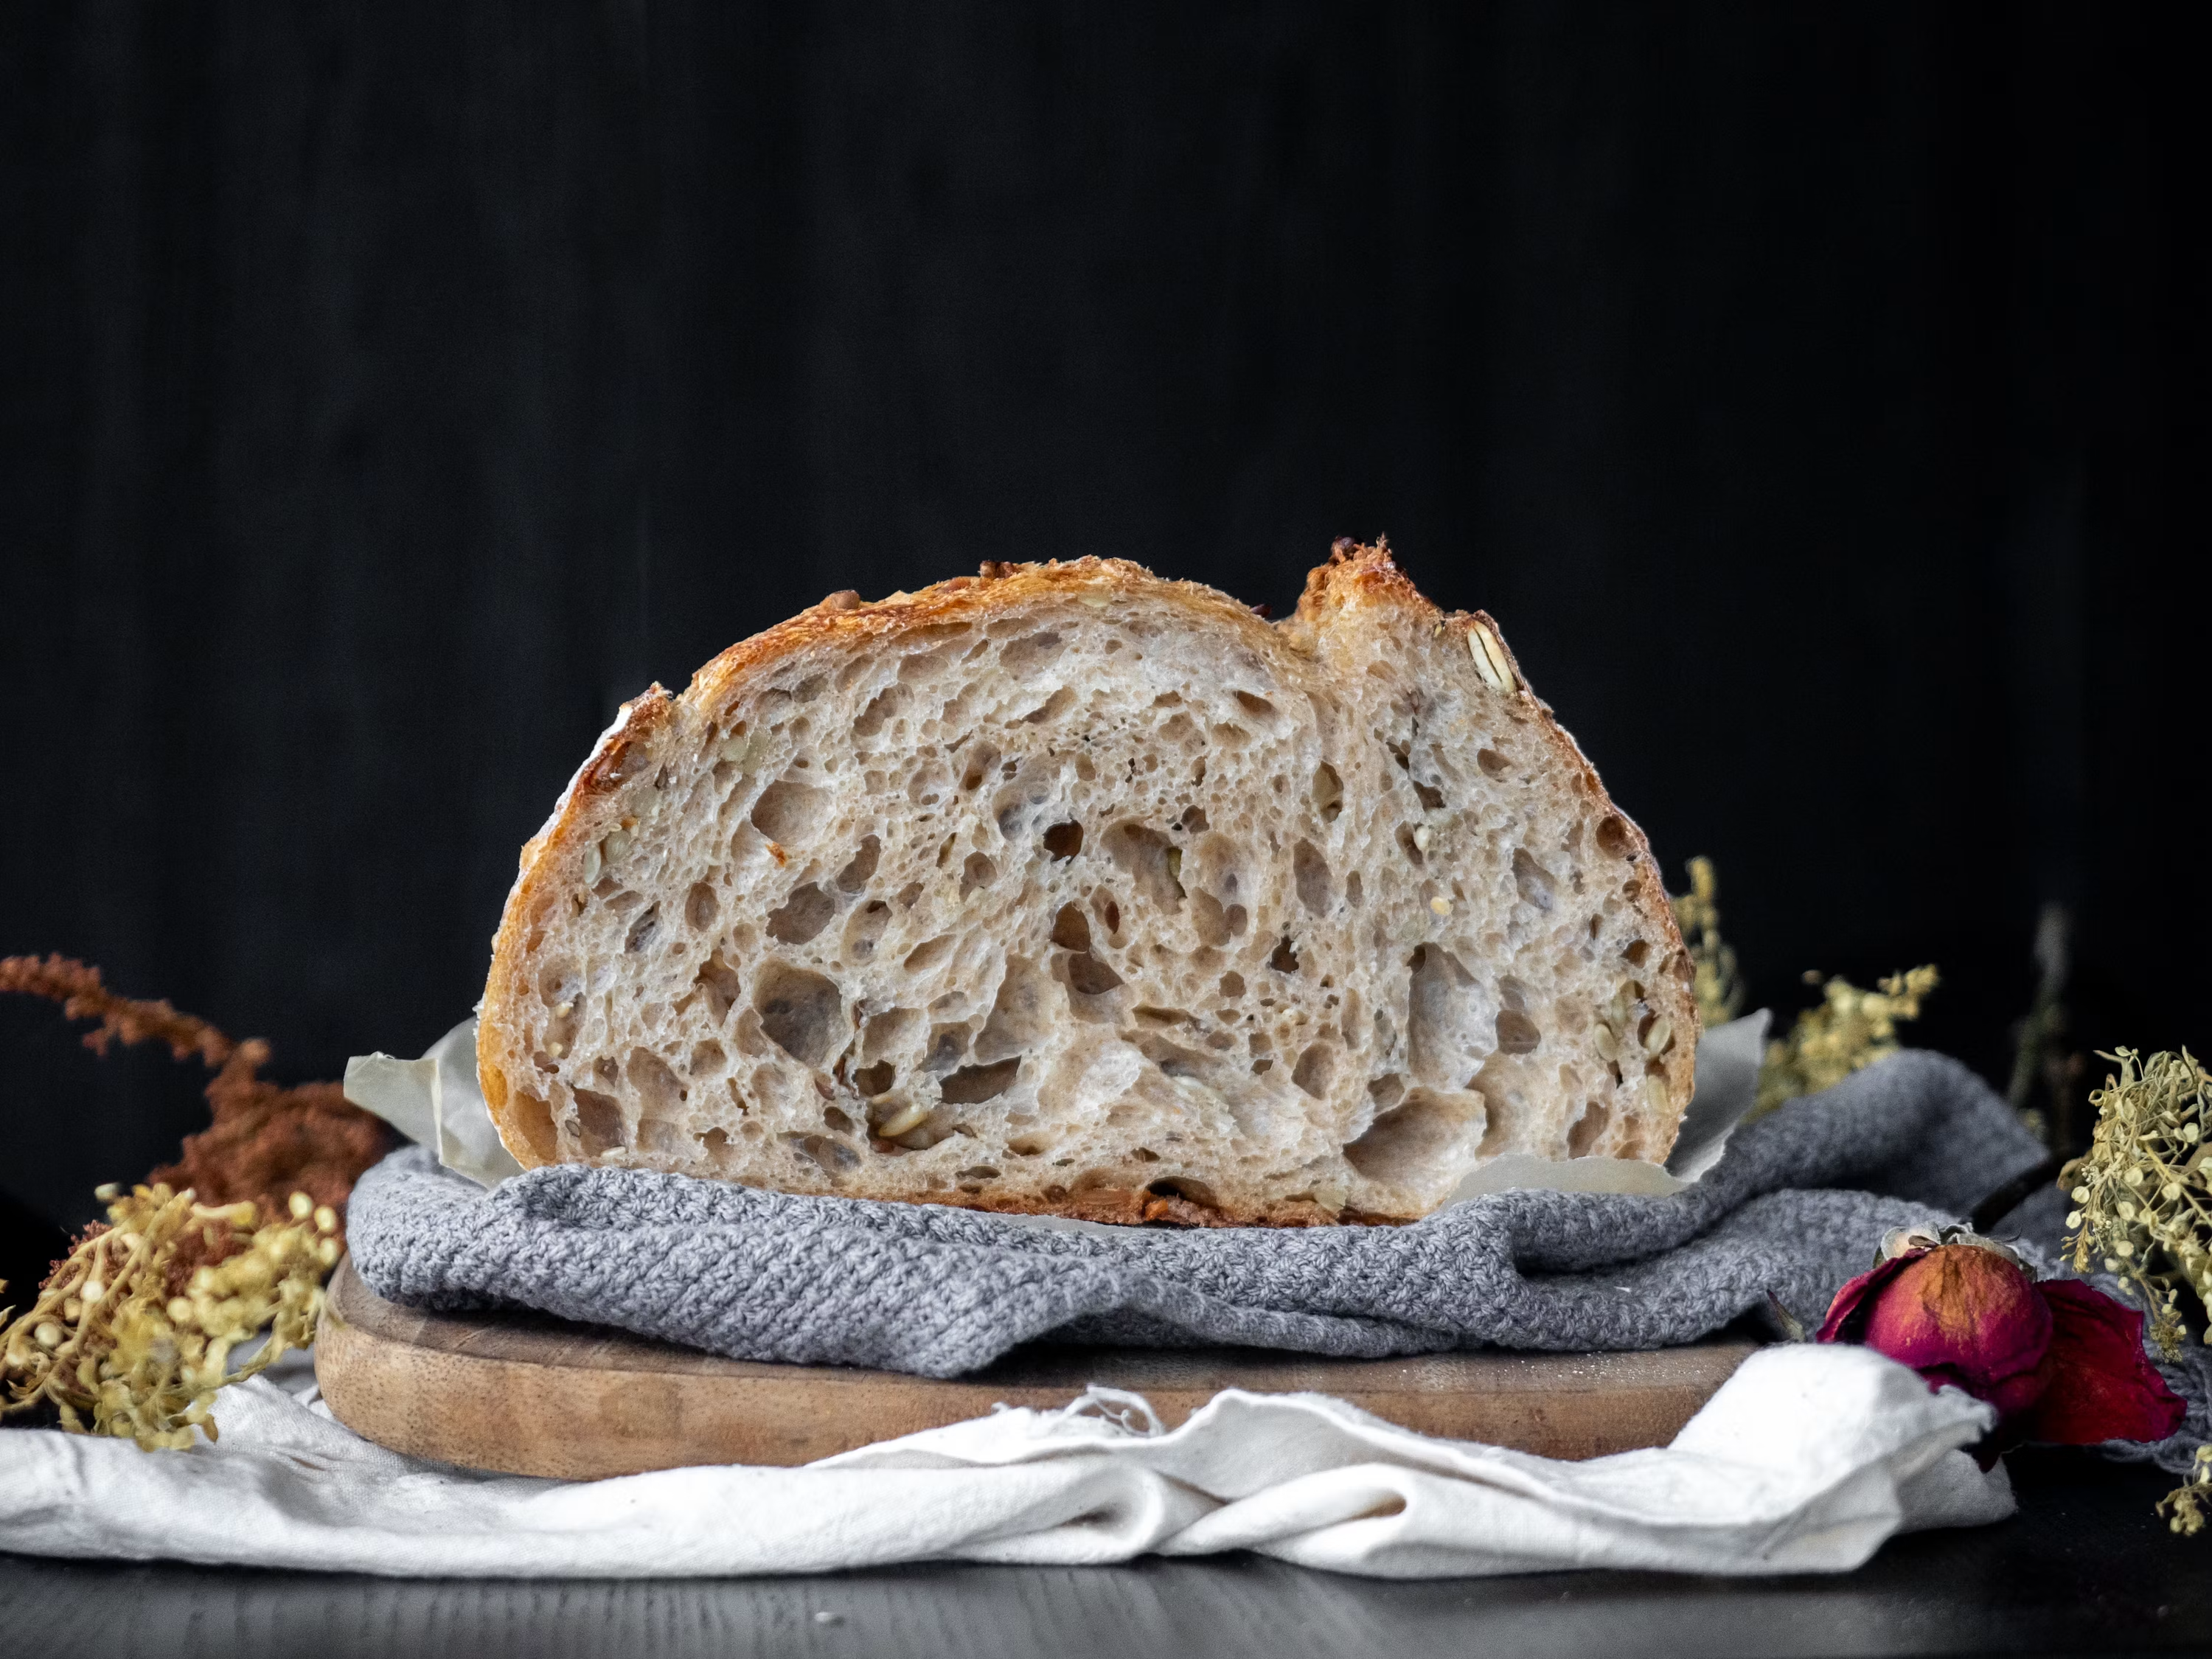
By Day 7, your easy sourdough starter should be showing consistent signs of life. Here’s how to know it’s ready for baking:
- It doubles (or triples) in volume within 4-6 hours of feeding.
- It’s bubbly throughout — large and small bubbles visible on the surface and sides.
- It smells pleasant — sweet and tangy, like yogurt or ripe fruit.
- It passes the float test (see below).
The Float Test: Foolproof Starter Readiness Check
The float test is the easiest way to confirm your starter is ready to bake. Use a cup of cool water and add about a teaspoon of starter. If it floats, your starter is ready for baking!
How to do it:
- Fill a small glass with room-temperature water.
- Drop a small spoonful of starter (about 1 teaspoon) into the glass.
- If it floats → Your starter is ripe and ready to leaven bread!
- If it sinks → It needs more time. Continue feeding for another day or two and test again.
The float test works because a ripe starter is filled with trapped carbon dioxide bubbles, making it less dense than water. If your starter sinks, it’s either not active enough or has passed its peak and collapsed. Don’t worry — just keep feeding!
How to Feed and Maintain Your Sourdough Starter
Once your starter is established, maintaining it is simple. Place the vessel holding your starter on a scale, add 45g flour and 45g water, stir together, and mark the top of the mixture with a rubber band. Wait until the starter doubles or nearly doubles. Test it — if it floats, you’re good to go!
Daily Maintenance (If Baking Often)
If you bake several times a week, keep your starter at room temperature and feed it once daily:
- Discard all but 50g of starter.
- Add 50g flour + 50g water.
- Stir, cover, and let rise at room temperature.
Weekly Maintenance (If Baking Occasionally)
For most home bakers, storing your starter in the refrigerator is more practical:
- Feed your starter as usual, let it sit at room temperature for 1-2 hours, then refrigerate.
- Feed once every 7-14 days.
- When ready to bake, remove from fridge, discard most of it, feed with fresh flour and water, and let it come to room temperature and peak (4-8 hours).
What to Do With Sourdough Discard (Zero Waste!)
Discarding half your starter at every feeding can feel wasteful, but that “discard” is actually a delicious ingredient! Here are the best ways to use it:
- Sourdough Discard Crackers — Mix discard with olive oil, herbs, and salt. Spread thin and bake until crispy.
- Sourdough Pancakes & Waffles — Replace some flour and liquid in your favorite breakfast recipes.
- Sourdough Tortillas — Soft, pliable wraps with a subtle tang.
- Sourdough Pizza Crust — Crispy, chewy, and full of flavor.
- Irish Soda Bread — A quick loaf that uses discard for extra depth.
- Sourdough Chocolate Cake — Yes, really! The acidity creates an incredibly moist crumb.
Check out our creative sourdough recipes for detailed discard recipes, or try our perfect sourdough loaf recipe once your starter is ready!
Troubleshooting Common Starter Problems
My starter isn’t bubbling. What’s wrong? Be patient — cool temperatures slow fermentation significantly. If your kitchen runs cold, place your jar in the oven with just the light on and the door cracked. It creates the perfect cozy environment for fermentation. Also try using whole wheat or rye flour for a few feedings to boost activity.
There’s a layer of liquid on top. Is it dead? No! That liquid is called hooch — it’s alcohol produced by fermentation and means your starter is hungry. Simply pour it off or stir it back in, then feed immediately.
My starter smells like acetone or nail polish remover. This means it’s very hungry and producing excess acids. Feed it twice daily for a few days, and the smell should mellow into a pleasant tang.
I see mold. Can I save it? If you see fuzzy mold (any color), it’s safest to start over. However, if there’s just a dry, dark crust on top, you can scrape it off and transfer a tablespoon of healthy starter to a clean jar with fresh flour and water.
Can I use tap water? Water that’s high in chlorine or chloramine can impede fermentation. Fill a jug with tap water and let it sit out uncovered overnight to allow chlorine to dissipate. If your city uses chloramine, use bottled spring water instead.
FAQ: Sourdough Starter
How long does it take to make a sourdough starter? Most starters are ready in 5-7 days, but it can take up to 2 weeks depending on your kitchen temperature, flour quality, and environmental yeast. Be patient and trust the signs (bubbles, rise, pleasant smell) rather than the calendar.
Do I really need a kitchen scale? While you can use volume measurements, a digital scale is highly recommended. Our sourdough starter tutorial gives approximate volume measurements, but honestly, it’s super helpful to have a scale when baking bread. Precision matters in baking!
What flour is best for sourdough starter? Unbleached all-purpose or bread flour works best for maintenance. Whole wheat, rye, or freshly milled flour can help jumpstart a new starter because they contain more wild yeast and minerals. Once established, you can maintain it with all-purpose flour.
Can I use my starter straight from the fridge? No — cold starter is sluggish. For best results, feed your refrigerated starter, let it rise at room temperature until it doubles (4-8 hours), and use it at its peak. This is called “activating” your starter.
How do I know when my starter is at its peak? Your starter is at peak activity when it has doubled (or tripled) in volume, is covered in bubbles, and has a pleasant tangy aroma. This is when it has the most leavening power. If it starts to deflate, you’ve missed the peak — just feed it again.
Conclusion: Your Sourdough Journey Starts Now
Learning how to make a sourdough starter is one of the most rewarding skills you can develop in the kitchen. In just 7 days, you’ll have created a living, breathing culture that can produce endless loaves of crusty, flavorful bread for years to come. The process teaches patience, observation, and respect for natural fermentation — qualities that make baking sourdough as meditative as it is delicious.
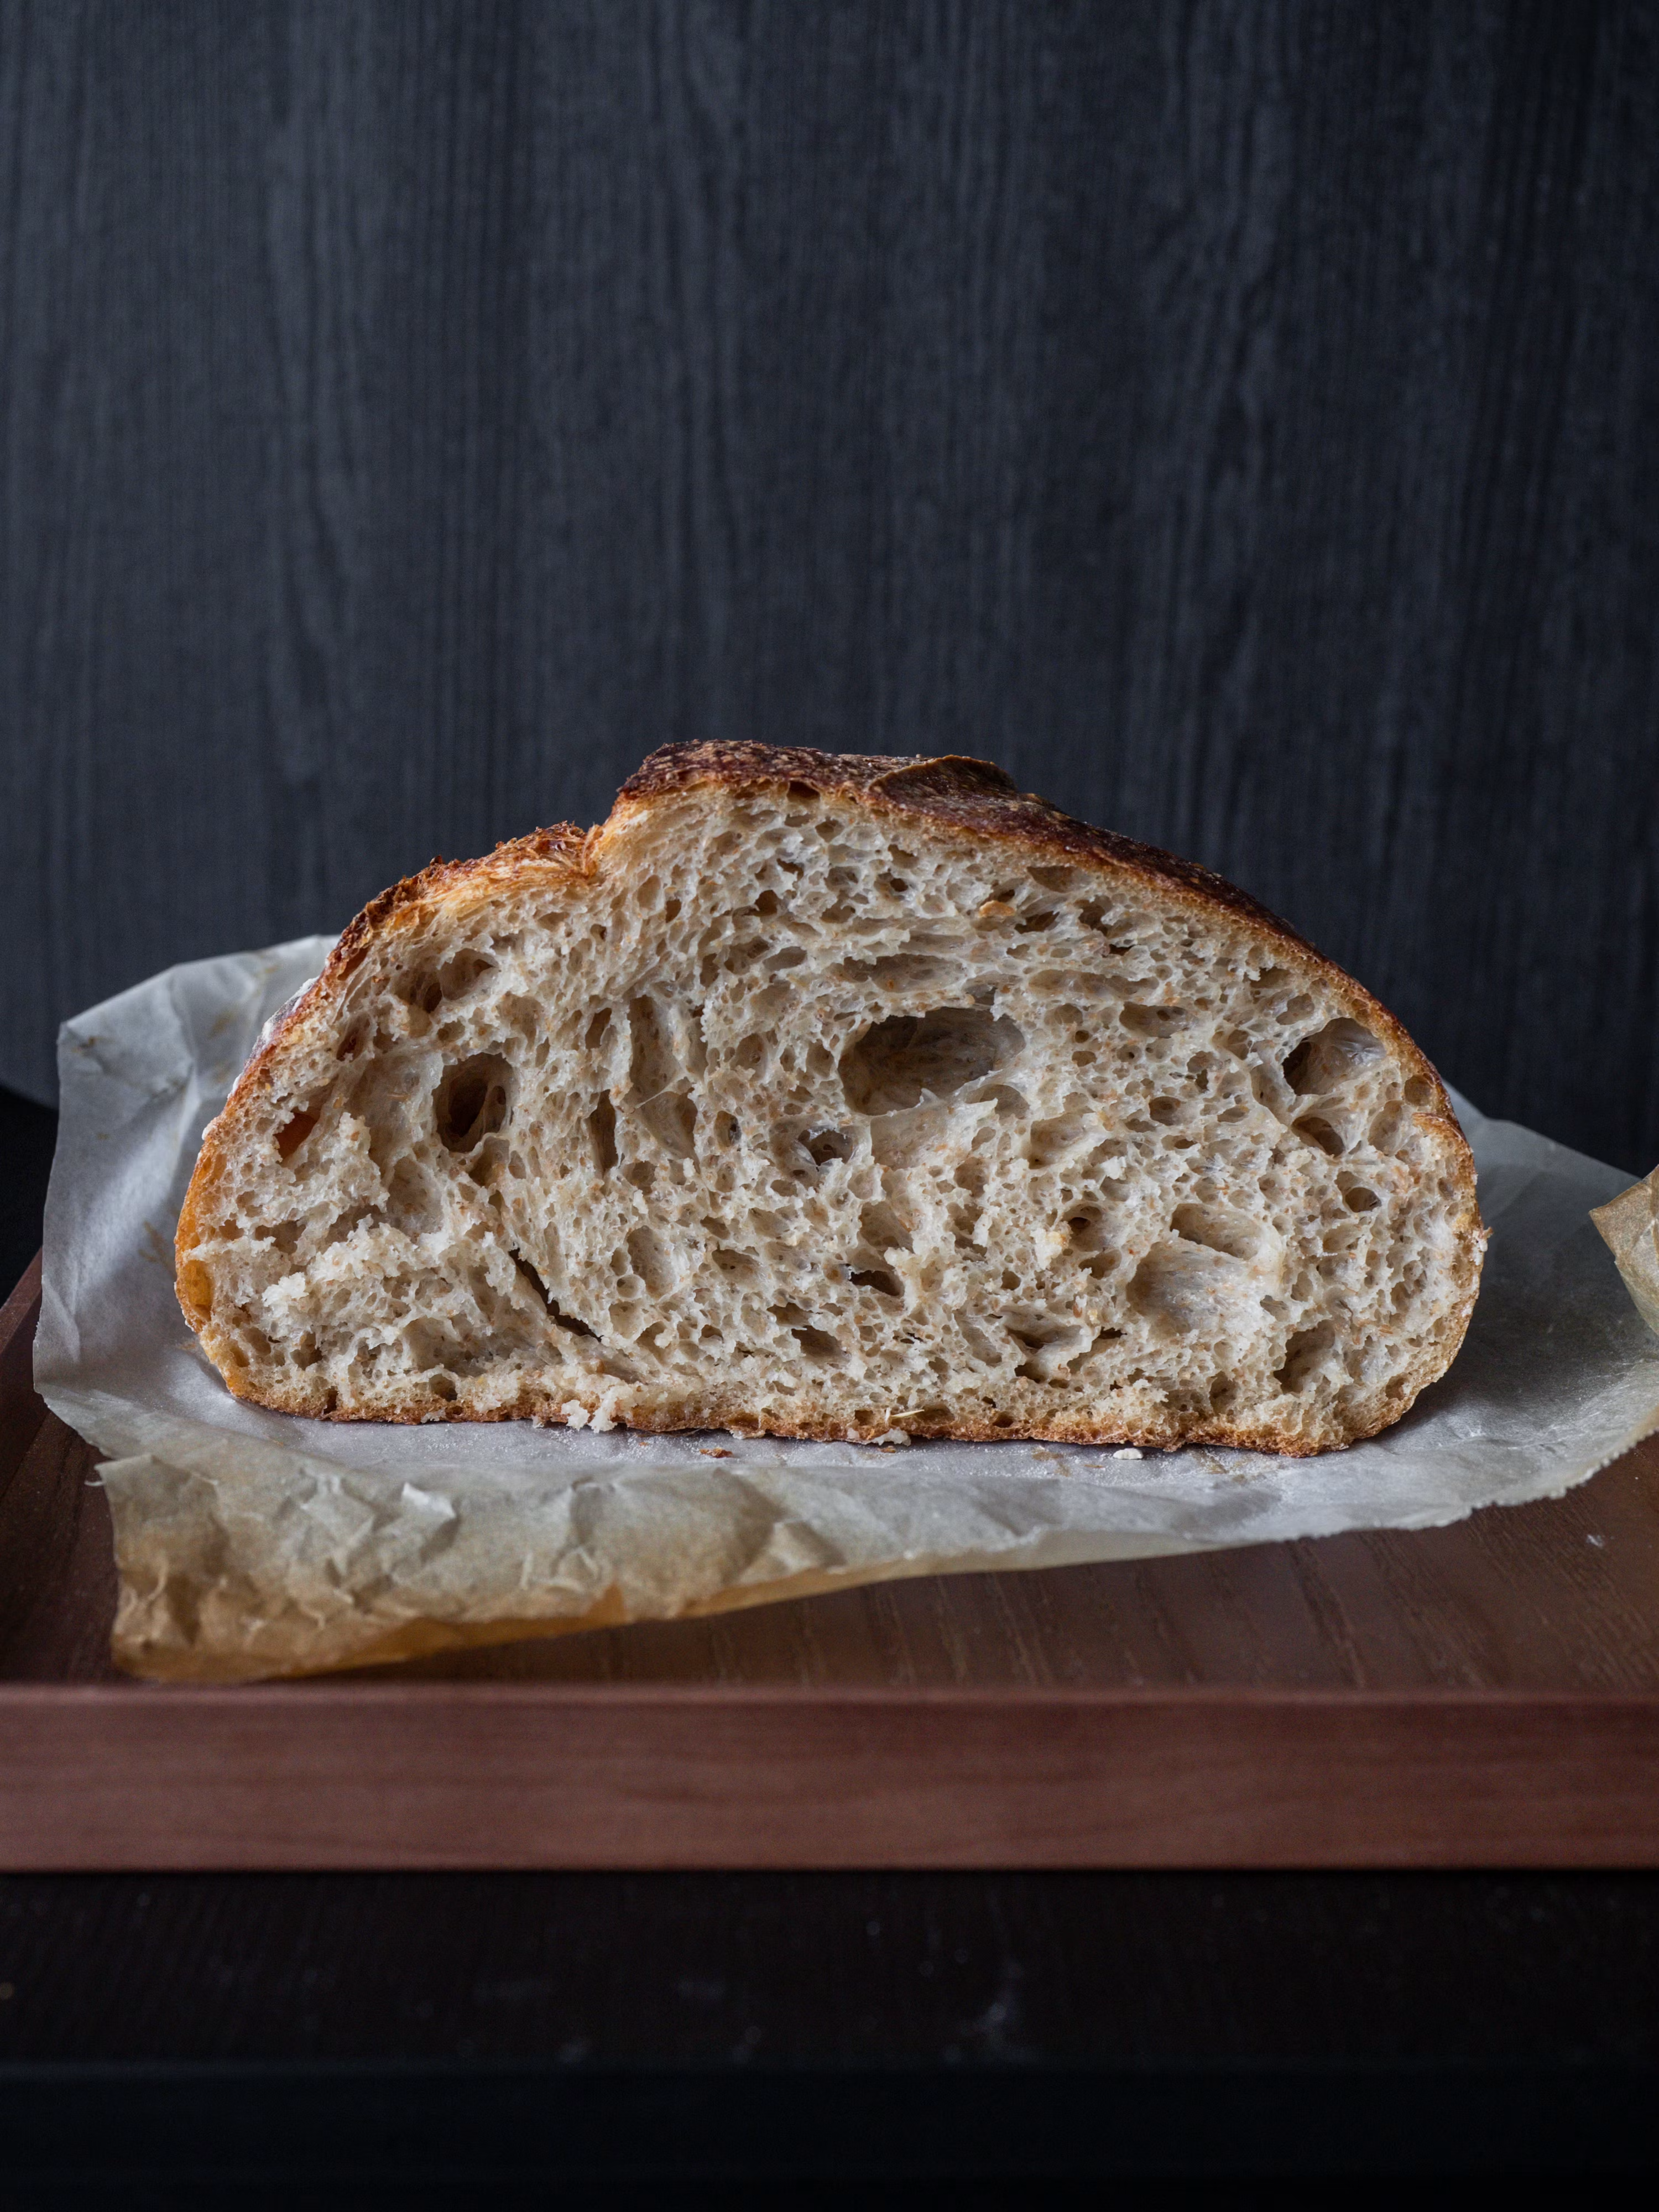
At TeamFoodie, we’re here to support your sourdough journey every step of the way. Once your starter is bubbling and active, explore our perfect sourdough loaf recipe for your first bake, or browse our creative sourdough recipes including discard crackers, cinnamon rolls, and pizza crust. And if you loved this guide, check out our complete food trends 2026 guide for more trending recipes!
Have questions about your starter? Drop a comment below with your progress — we love seeing sourdough success stories!